 Mobile
- Log into the Fluent app.
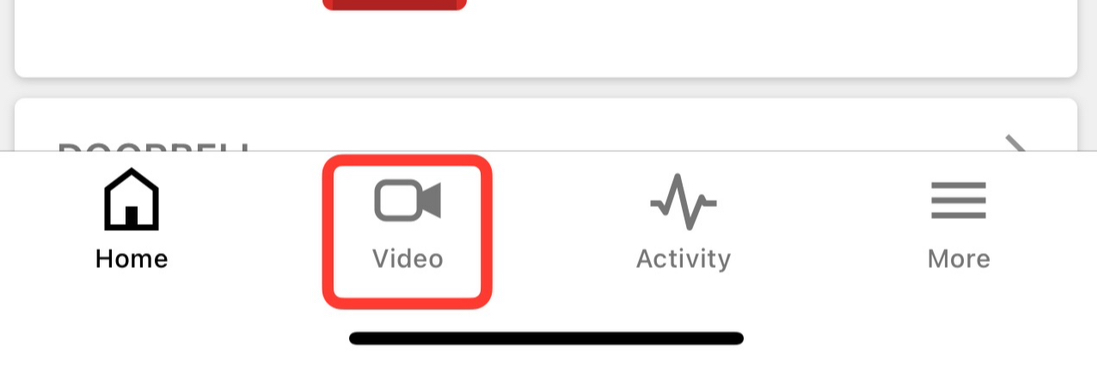
- Tap Video.
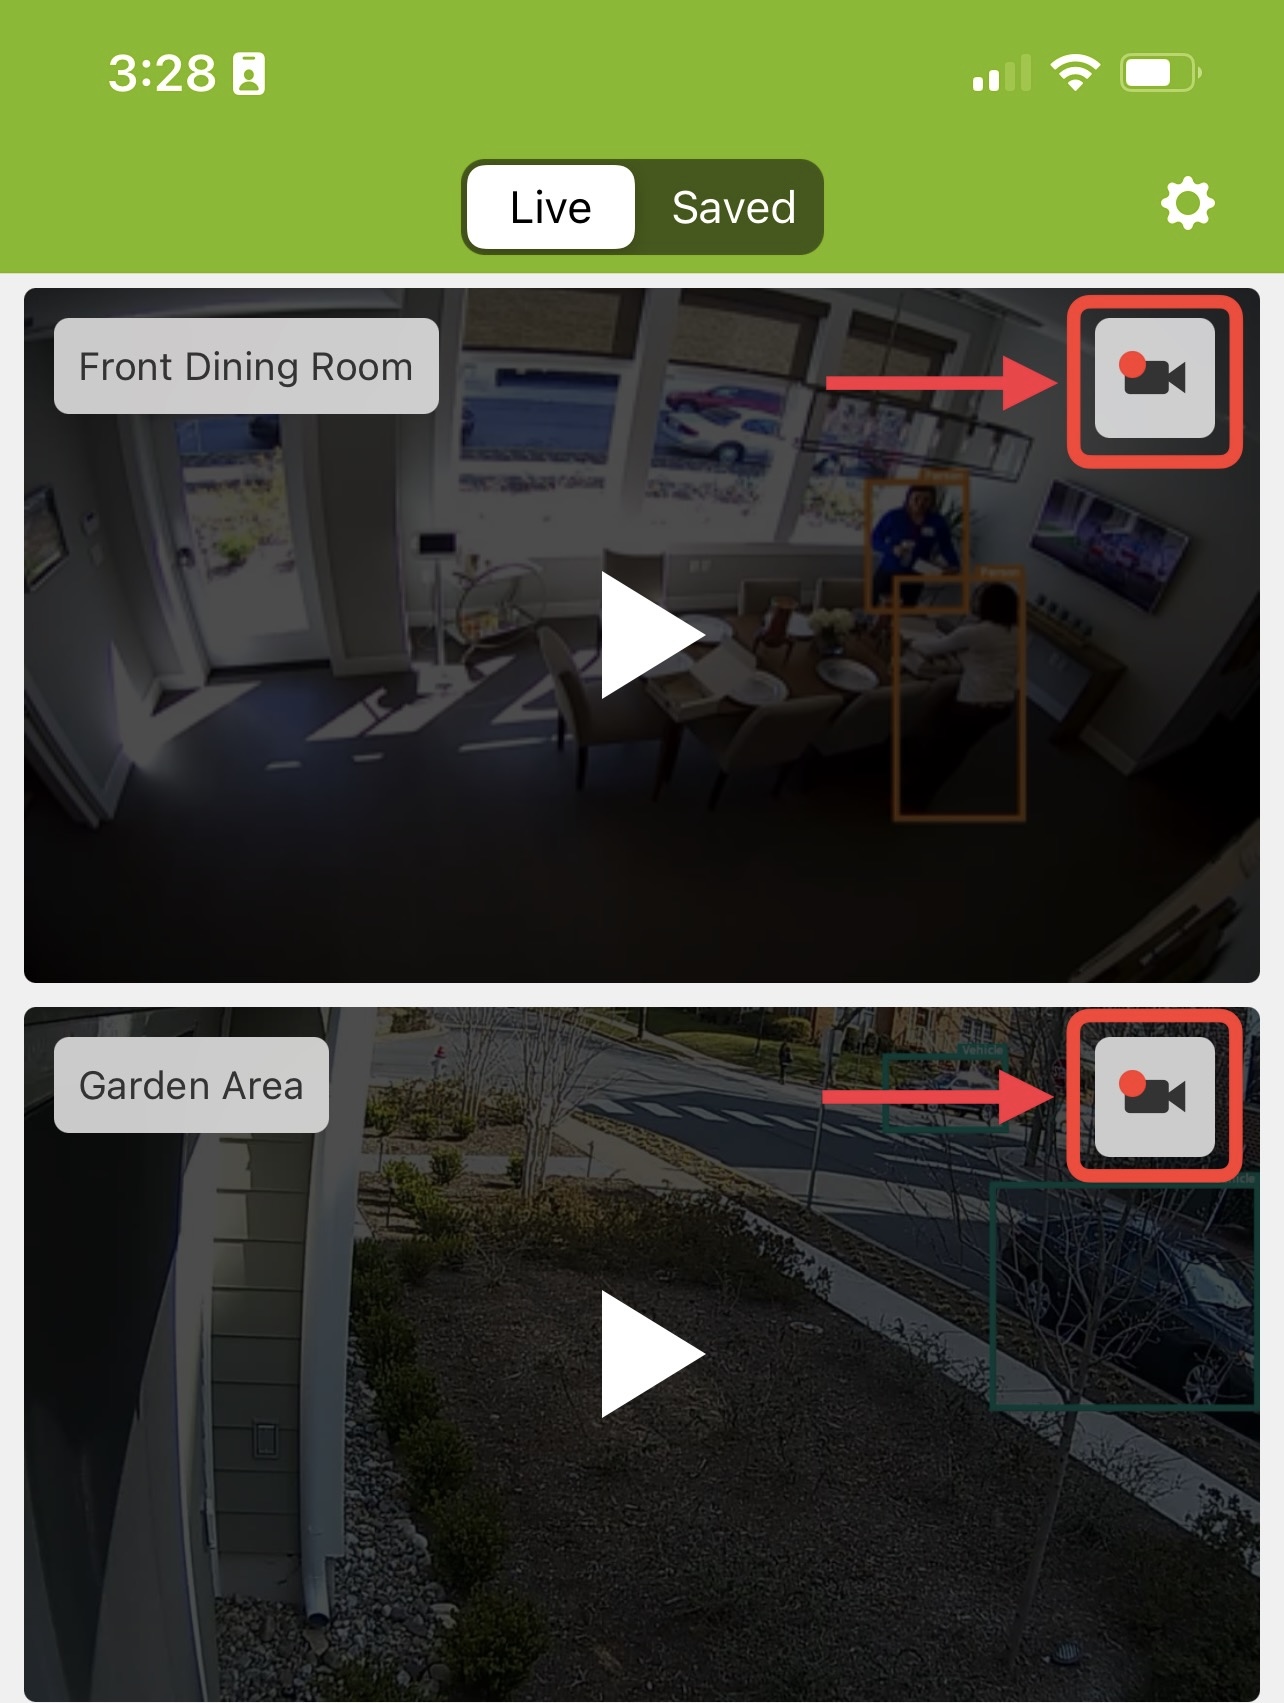
- Tap the icon located on the top right side of the camera you are looking at to see the recordings.
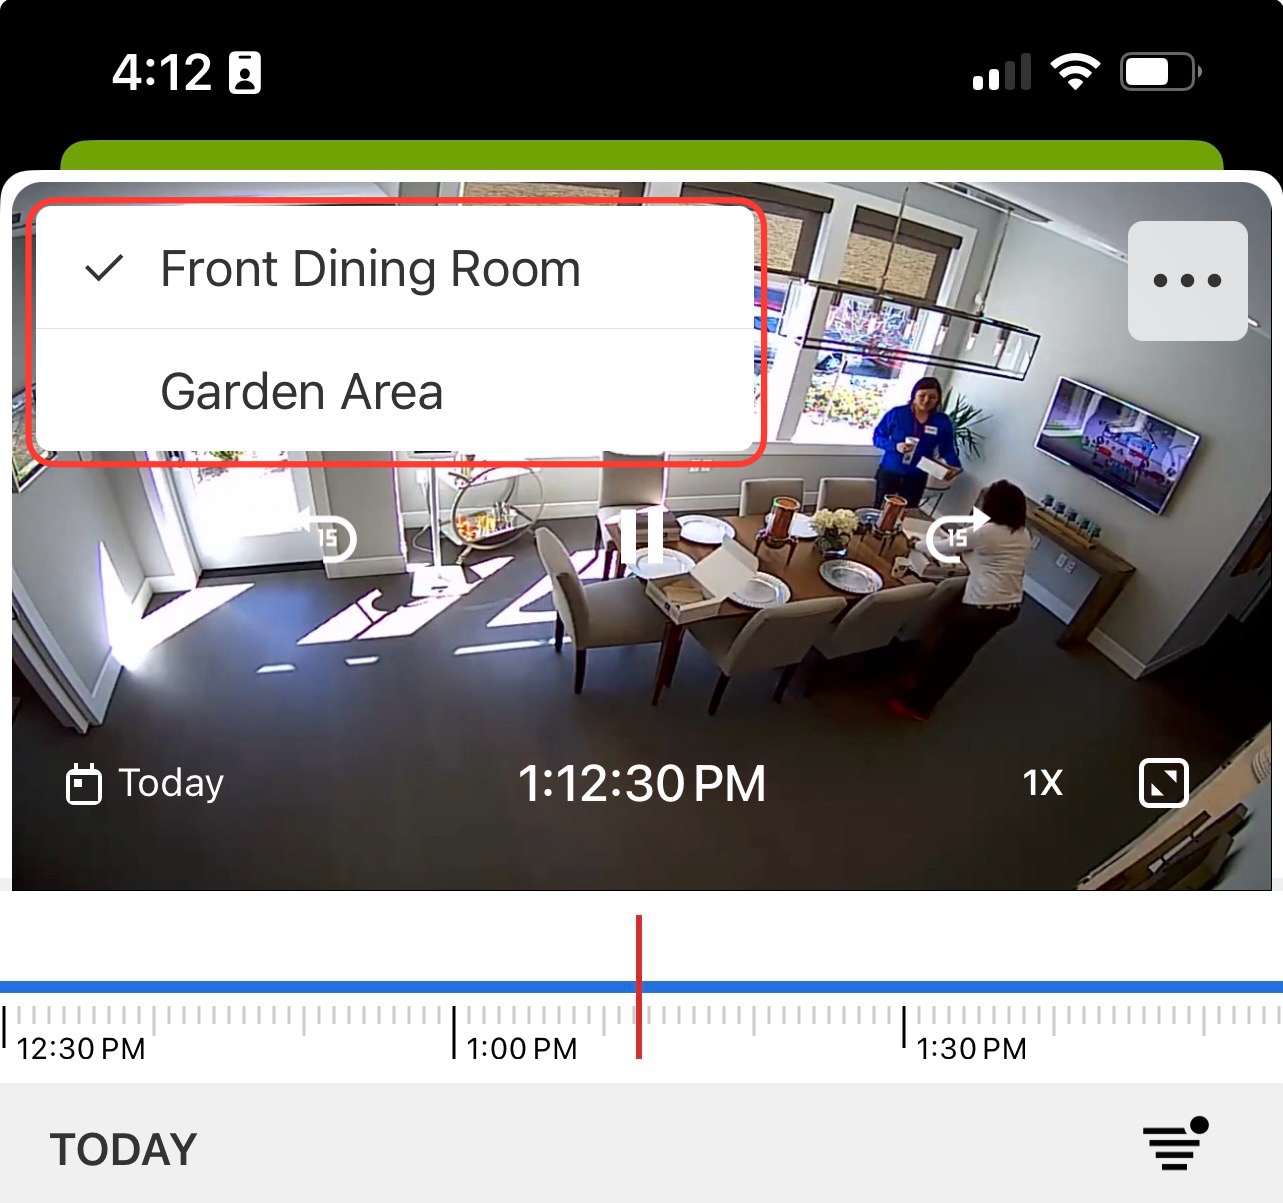
- Using the dropdown menu, select a camera.
- Tap
 .
.
Timeline Bar
The timeline bar allows users to watch recorded video from a selected time period. There are no activity or clip upload markers.
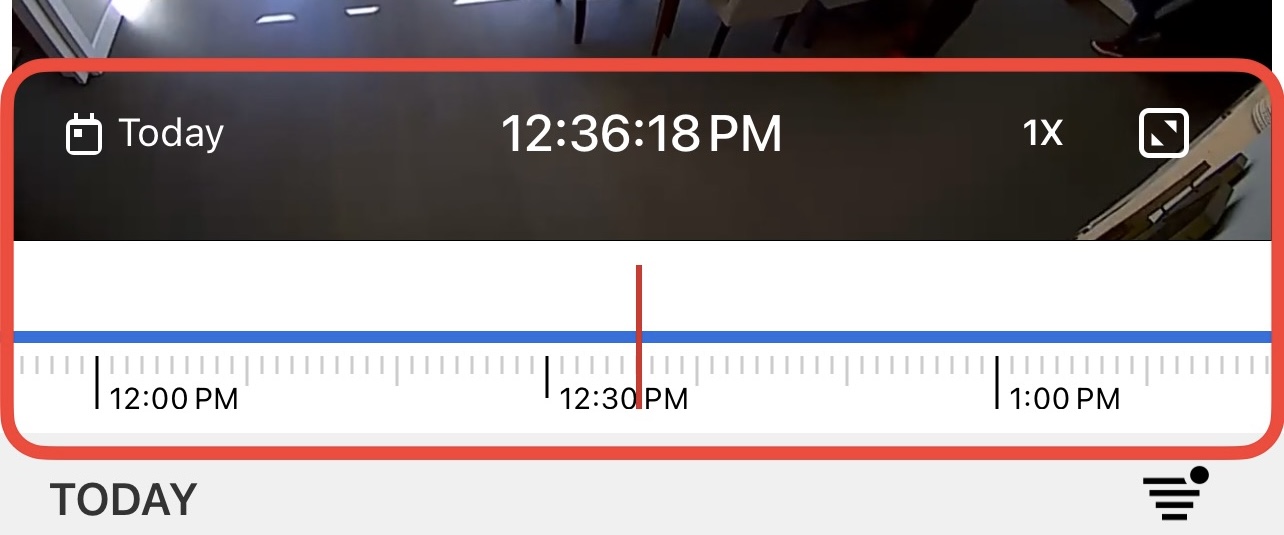
- Use the red bar to select where to begin video:
- Drag the bar to the desired time.
Playback controls on the Fluent app
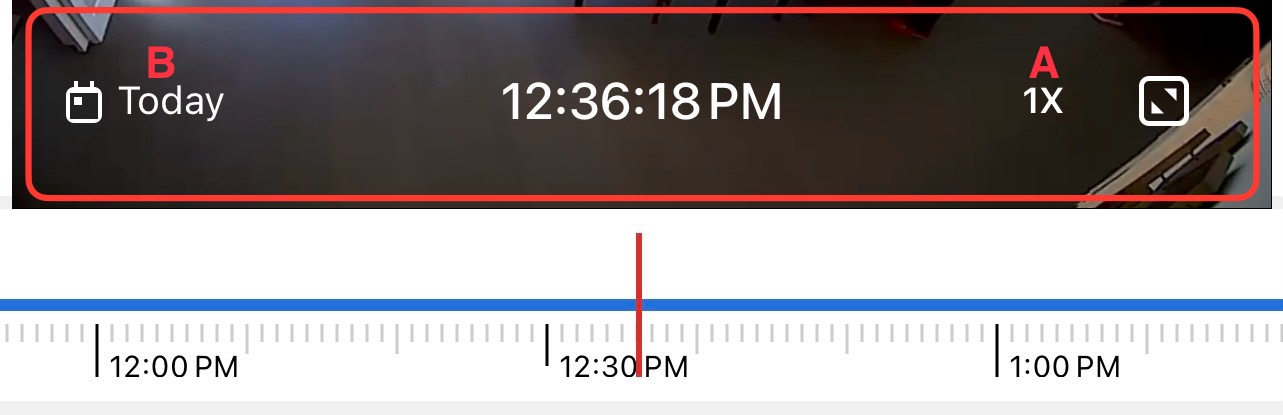
Using the dropdown menu, select the desired playback speed from the available options.
Note: The upload speed required for streaming playback is multiplied by the playback speed.
Tap  Today to pick a date from the calendar.
Today to pick a date from the calendar.
 Website
- Log into the Alarm.com website.
- Click Video.
.png)
- Click SVR Timeline.
.png)
- Using the dropdown menu, select up to four cameras. The maximum number of devices that can be selected at once varies based on the equipment and the network being used.
.png)
- Click
 .
.
Timeline Bar
The timeline bar on the Website displays system/sensor activity events as gray bars and recorded clips as dots color-coded to the selected cameras.
.png)
- Use the large blue bar to select where to begin the video. Drag the red line to the desired time or click anywhere on the timeline to jump to that point.
- Click on the forward/backward arrows to scroll through the timeline.
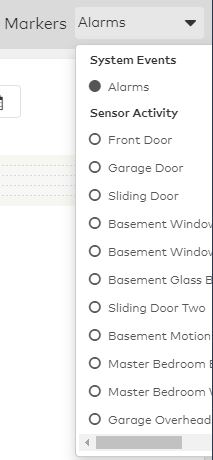
Customize the timeline
- Using the Markersdropdown menu, select the sensor activity and system events to show on the timeline.
Playback controls on the Website
Controls
Description
Playback speed
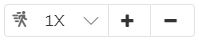
- Using the dropdown menu, select the desired playback speed from the available options.
- Click + or - to increase or decrease the playback speed incrementally.
Note: The upload speed required for streaming playback is multiplied by the playback speed.
Playback resolution
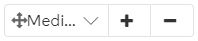
- Using the dropdown menu, select Small, Medium, Large, X-Large. X-Large is only available when one camera is selected.
- Click + or - to increase or decrease the window size incrementally.
Timeline scale
- Using the dropdown menu, select Hour, Day, Week.
- Click
 or
or  to increase or decrease the timeline
scale incrementally.
to increase or decrease the timeline
scale incrementally.
Currently selected time

- Enter the date manually in the Currently selected time field.
- Click
 to
pick a date from the calendar.
to
pick a date from the calendar.
.png)